Getting started
Sign up, read your menu with AI, choose your fee plan, add tables and go live.
TableOne is a free restaurant system that grows your business: diners scan a QR on the table to order and pay, they join your Loyalty, and you bring them back with campaigns written by AI. The POS, kitchen screen, reports and marketing tools are free; TableOne earns a small fee only on payments made through TableOne.
Everything works on a phone. Open app.tableone.cloud in Chrome or Safari and add it to your home screen to use it like an app.
Sign up
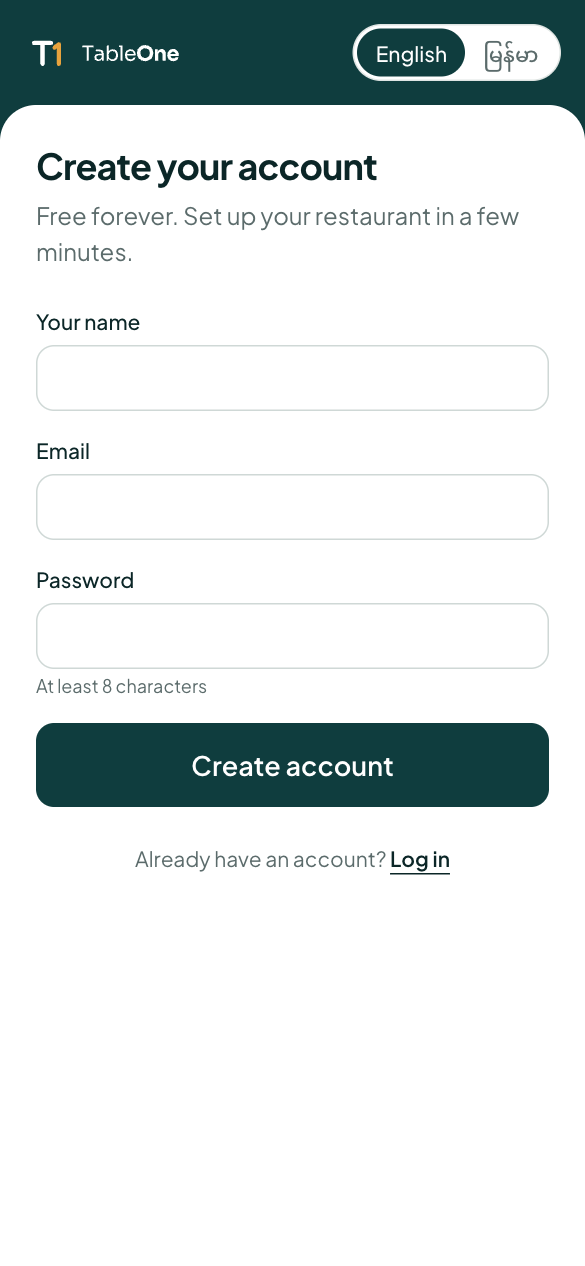
- Go to app.tableone.cloud and tap Sign up.
- Enter your name, email and a password, then tap Create account.
- Enter your restaurant's name and tap Continue. You go straight to the menu step below.
You are the restaurant's Owner. You can add managers and staff later (see Staff & roles).
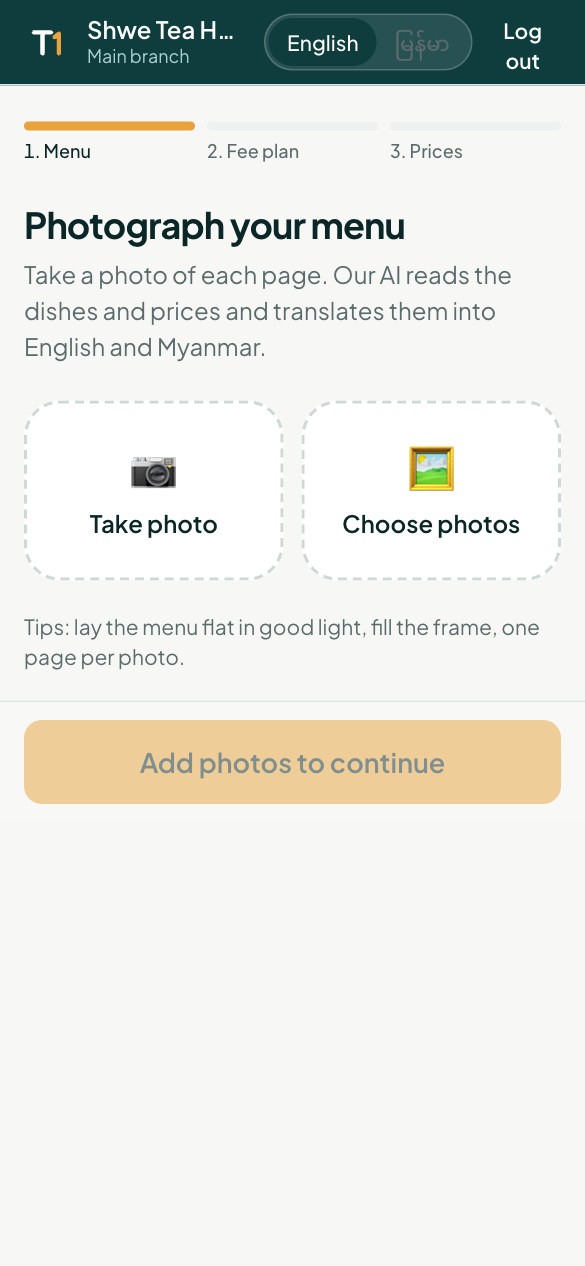
Step 1 · Photograph your menu
You don't need to type your menu. Take a photo of each page of your paper menu and our AI reads every dish, price and choice (for example Chicken / Pork), in Myanmar and English.
- Tap Take photo for each page, or Choose photos from your gallery.
- Tap Read my menu. It usually takes less than a minute.
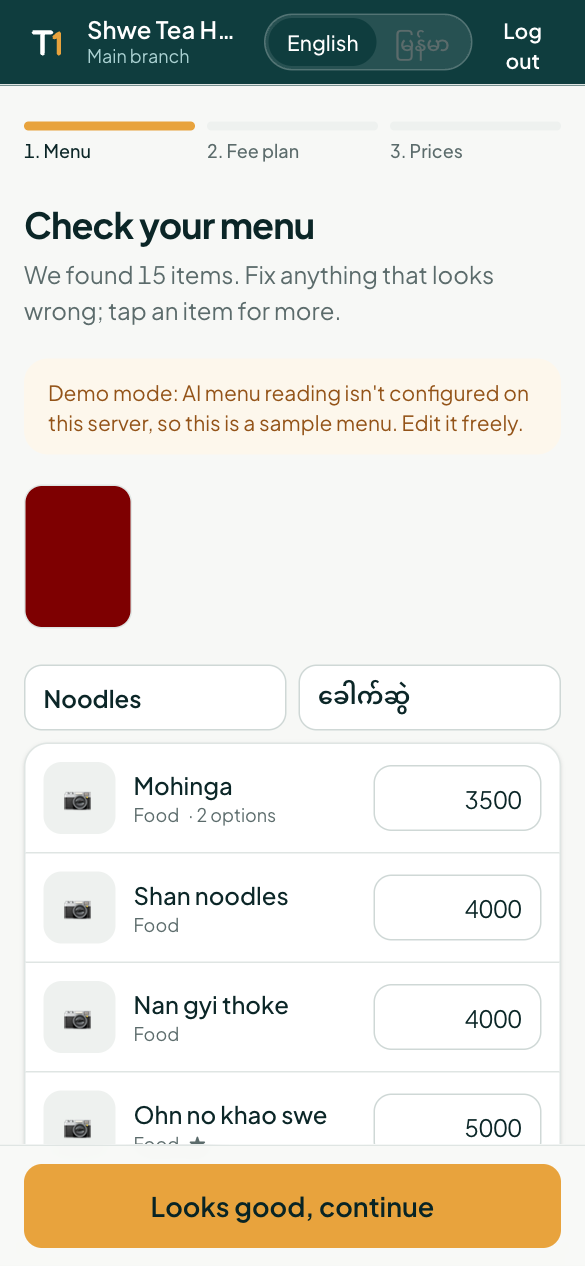
Step 2 · Check your menu
The AI shows what it found. Fix anything it misread:
- Tap a dish to change its name, price, category or choices.
- Items marked to check have an unclear price or name.
- Mark Signature dish or Everyday staple so pricing treats them well.
- Dish photos are added automatically from the TableOne photo library where we have them; tap a photo to change it.
When it looks right, tap Looks good, continue.
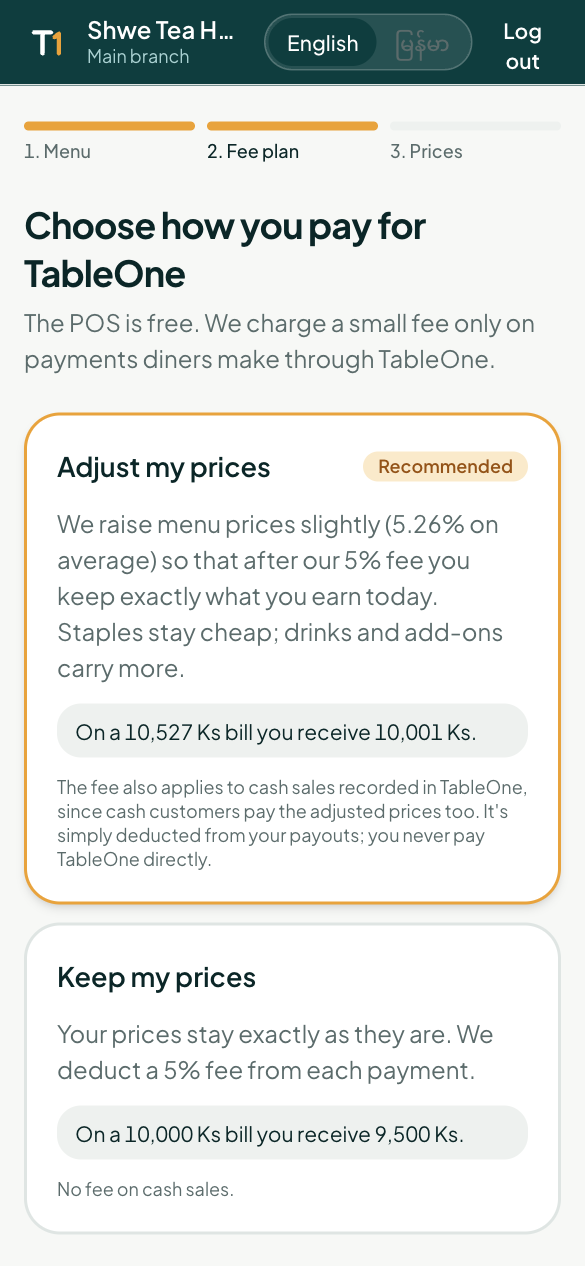
Step 3 · Choose your fee plan
| Plan | What happens | Fee |
|---|---|---|
| Adjust my prices (recommended) | Menu prices rise slightly (about 5.3% on average) so you keep what you earn today. Staples stay cheap. | 5%, also on cash sales you record |
| Keep my prices | Your prices stay exactly as they are. | 5% on payments through TableOne, nothing on cash |
The fee comes out of your payouts; you never pay TableOne directly. See Payouts & fees.
Step 4 · Approve your prices
With Adjust my prices you see every dish's new price. Pin dishes you want to keep near today's price; the rest balance automatically. Prices are rounded to natural steps (100 Ks under 10,000, 500 Ks above). Tap Approve and publish menu.
Approved prices stay fixed for 3 months so diners see stable prices. You can still edit dishes, add new ones and change their prices in Menu.
Step 5 · Add tables and print QR codes
Go to Tables → Add tables, choose how many and their names (T1, T2…). Each table gets a permanent QR code. Print them, have a print shop make stands, or engrave them on wood — see Tables & QR codes.
Step 6 · Payout account and approval
Go to More → Payouts:
- Add your bank account (AYA, KBZ, CB or A bank — AYA is paid fastest).
- Upload your business registration (DICA), the owner's NRC and proof of the account.
- Tap Submit for review. TableOne usually approves within 1–2 business days.
Until you're approved you can still take orders and test everything.
Logging in
The login page has three tabs:
- Staff — restaurant code, username and password (no email needed).
- Owner — email and password.
- Member — for diners, to see their points and receipts.